Wednesday, August 31, 2011

Pantry Make Over Projects

025

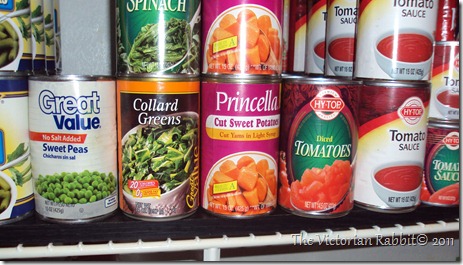
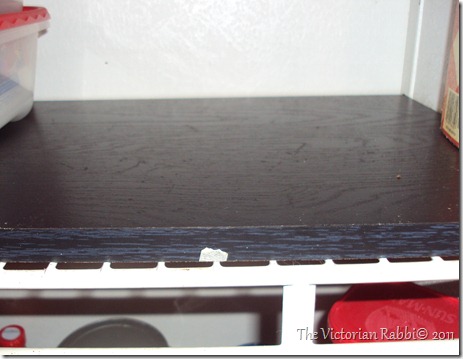
Most people would look at this picture and say “yep you have a shelf and food”. But what I'm showing is something I consider amazing.

  Anyone who has had these built in wire shelves could tell you they can be very hard to to stack cans on. My cans were constantly falling.  I thought I was the only one having these issues until I read a blog where a guy who had the same problem claimed to have the answer. If you can believe this he was using bungee cords to keep his can goods on these wire shelves. He was running dollar store bungee cords across each shelf for each row of canned goods and securing the cords on the vertical poles holding the shelves up. Boy did that look messy.

  My idea was to reuse the wood from a collapsed set of of  book shelves I had bought at wally world. Adding a plank to each shelf. They already were the perfect width. They were already painted a lovely shade of black so all that was left was to cut them to length.

026

  This project was very simple and it solved the problem of falling cans. I can now stack my shelves three high if I want. I will go back and touch up the seam pieces with black paint but I love the look and the shelves themselves are so much more usable.

  Have a great week..With love from the Victorian Rabbit.


BWS tips buttonThirty Hand Made Days Boogieboard Cottage

Transformation Thursday
NightOwlCrafting

Saturday, August 27, 2011

Little Towels for Christmas Gifts

 013

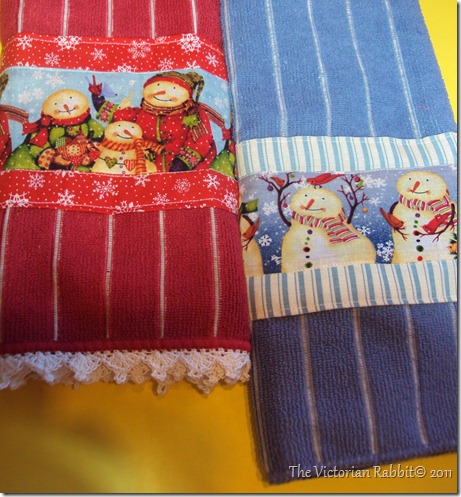
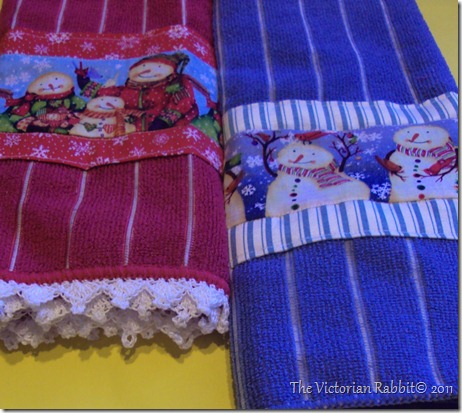
  The Bunnies' been busy…. Here are some Christmas towels I have made.   The towels were purchased at the Dollar Tree.   I found the border print at Wally World.   I just love snowmen. I made many sets of same color towels but am showing both color designs.

   Because the towels have a serger kind of blanket stitch They are very easy to add a crocheted border to. When I first tried these I made the project much harder than it needed to be adding interfacing behind the border prints. It is not needed, and so much easier not to use.

The borders were cut then a trim fabric was added to each side. I kept the fabric in large rolls while the trims awaited their turn to adorn.

  I measured the towels and marked with chalk to get the right placement and sewed the seam. I made the seam a completed rectangle to cover the sides of towels also.

014

  I hope you enjoy this project have a great week….. with love from the Victorian Rabbit.

BWS tips buttonThirty Hand Made Days 

Boogieboard CottageTransformation Thursday
NightOwlCrafting

Sunday, August 14, 2011

Paper Roses

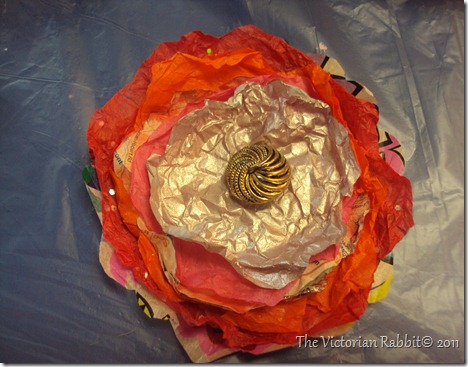
Another fun project we used anything and everything to create these including sheets from phone books. gift wrap, tissue paper, music sheets would be nice in the pale color ones.. 014

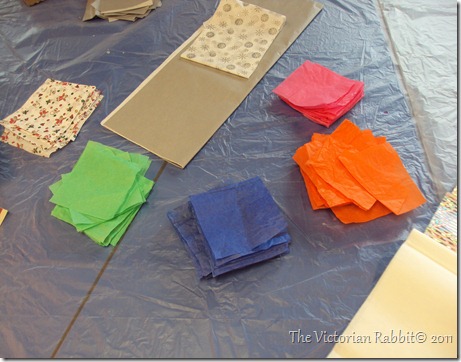
  We started with stacks of tissue and gift wrap squares and map paper.


001

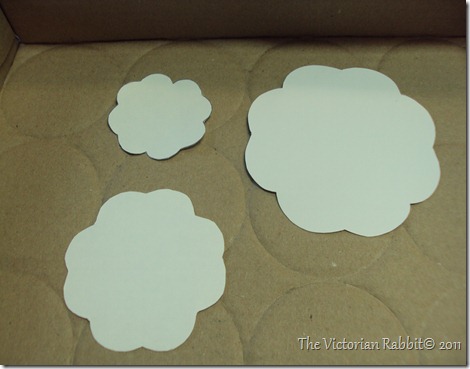
   We began with patterns but soon realized it was far easier to make a 005pie wedge and cut one petal shape from wide end.

005


Then we cut ,cut, cut.


006


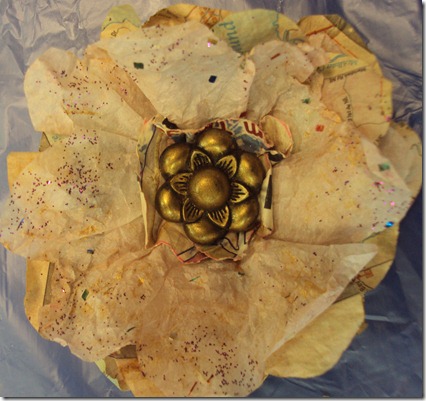
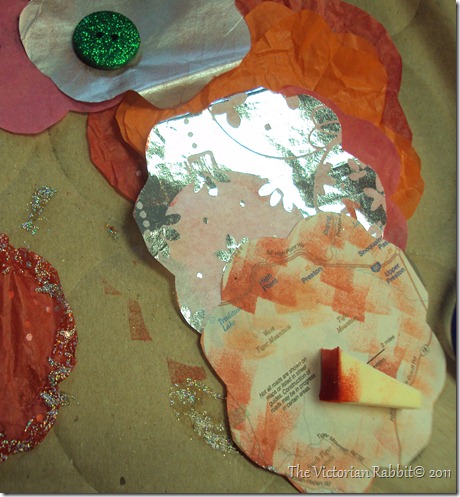
  We added distress inks and glitter  We crumpled up our flower and unfolded to get an aged look,


007

We then began gluing the layers together, adding an old brooch or button. We finished these with a magnet on the backs. What I found was that the ones done in whites and off whites were my favorites.

  I want to  make more of these in whites to decorate Christmas gifts this year.

  This is another project completed in craft classes at the Pacific Algona Senior Center in Pacific Washington.

  Have a great week with love from The Victorian Rabbit

BWS tips button

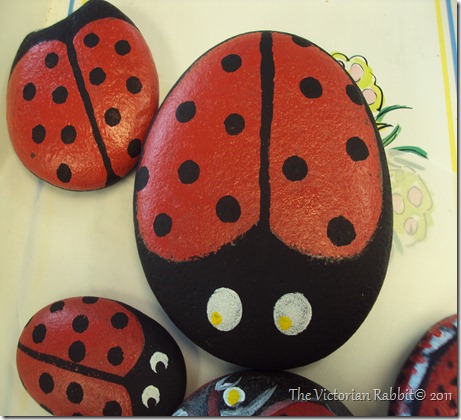
Painted Rock Lady Bugs

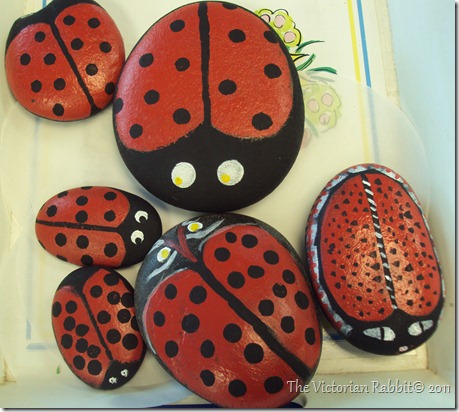
This is such a simple and happy project. What garden couldn't use a bright spot. These  flat rocks were cleaned and then painted with acrylic paints to give them the character of a lady bug.

002

Each has so much personality. They can be finished with clear sealer.

003

  They were made in the craft classes offered by the Pacific Algona Community Center, in Pacific Washington.

BWS tips button